Fat Dissolver
Non-Invasive Solutions for a Sculpted You
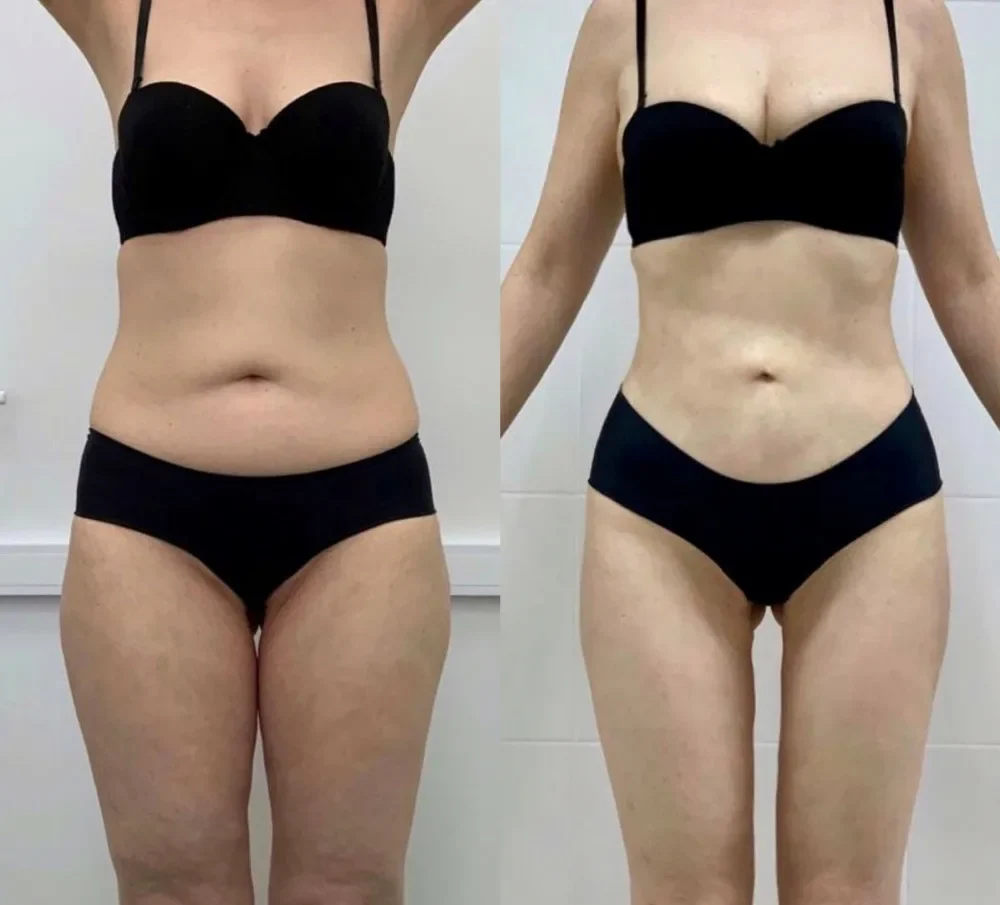
Before & After
What Should You Expect From Our Treatment?
Before
After
No Bra Fat
Bad Texture
Better Texture
Love Handles

Steps
Your Fat Dissolver Treatment
Journey: What to Expect
Step 1: Consultation and Assessment
Initial Consultation: Discuss your concerns and goals with our practitioner.
Skin Analysis: Evaluate your skin’s condition to tailor the treatment.Step 2: Pre-Treatment Preparation
Cleanse and Prepare: Thoroughly cleanse the treatment area.
Numbing Cream (Optional): Apply numbing cream if needed to minimize discomfort.Step 3: The Treatment Process
Marking the Injection Sites: Mark the injection points for precision.
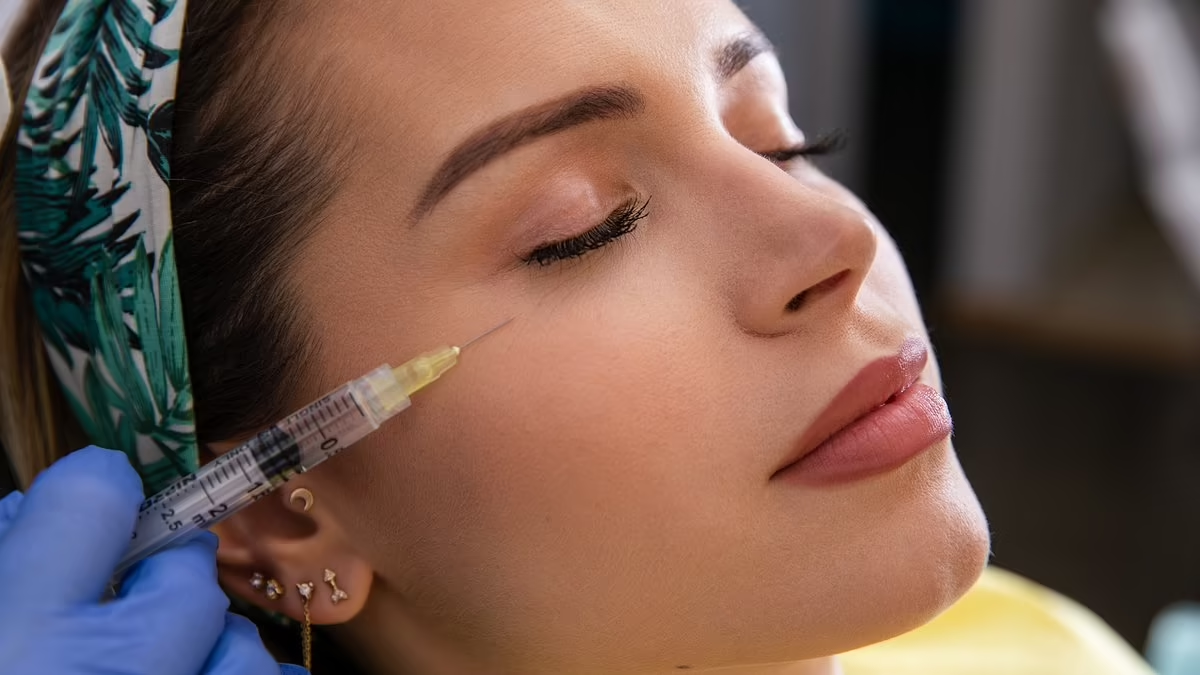
Micro-Injections: Administer hyaluronic acid into the skin.
Massage and Distribution: Gently massage the area to distribute the HA evenly.Step 4: Post-Treatment Care
Immediate Aftercare: Expect mild redness or swelling, which usually subsides quickly.
Avoid Sun Exposure: Protect your skin from the sun and use sunscreen.
Follow-Up Instructions: Follow detailed aftercare instructions for best results.Step 5: Results and Follow-Up
Gradual Improvement: Notice improved hydration, texture, and appearance over weeks.
Follow-Up Consultation: Assess results and discuss further treatments if needed.
Ready to Book?
Are You Looking For Fat Dissolver Treatment?
Pricing
Transparent Pricing: Your Path to Affordable Aesthetics
Fat Dissolvers
Consultations
Our initial consultation is designed to understand your needs and guide you through our services.
Step 1
Step 2
Choose Package
Choose from our range of packages designed to meet your specific aesthetic needs and budget.
Step 3
Get Service
Once you've chosen your package, it's time to experience the transformation.
Step 2
Choose Package
Choose from our range of packages designed to meet your specific aesthetic needs and budget.